There are many varieties of pemmican recipe. There are a few basic steps involved in making pemmican. But the process can be very creative and can easily be adapted to suit individual tastes. Some recipes feature a variety of ingredients, such as grass-fed beef. You can also add spices and dried herbs to your recipe. We will be discussing the nutritional value of some of the most popular ingredients.
Grass-fed meat is better for making pemmican
Grass-fed beef and tallow are essential in making pemmican, a dried food that is high in nutrients. It's also high in vitamin A and omega-3 fatty oils. Pemmicans are also excellent sources of iron, vitamin B, and other nutrients.
For making pemmican, beef fat is best. However, lamb fat can also be used. Look for free fat from local butchers. Grass-fed meat is better for pemmican because the fat, or suet, will have a higher nutritional value than meat from conventional sources. You can process the fat in a food processor or place it in a large pot.
Useful Ingredients
There are several methods of making pemmican. One is to dehydrate ingredients. First, trim off any excess fat. First, trim the fat off and then tuck it away. Next, cut the meat into long, thin strips. Place the meat on a baking pan. Dry them in direct sunlight. These can be used to make pemmican bars, balls, or bars.

Molasses, peanut butters, coconut oil, various syrups, dried fruits, and coconut oil are all ingredients that can be used in pemmican. These ingredients will increase shelf life. Other than meat, you can add spices such as peppers, berries, and other ingredients. Some recipes may also use tallow (animal fat). You should heat the fat slowly to evaporate the water before you use it. Next, make patties, balls, or bars. Native American people kept these ingredients safe from vermin by storing them in leather bags.
Shelf life
Pemmican is one the oldest foods known. Traditional preparations can last up to one year. Its main ingredient is animal oil, which is almost as good as dried meat. Rendering fat can make the fat last longer than raw fat. Rendering reduces water content and impurities. Pemmican recipes with proper fat levels will last longer.
Dried fruit can be added to sweeten the pemmican. Dried lard can also be added for a sweeter flavor. You should store it in an airtight container. You can store it in a dark and cool place. Native Americans and early explorers made pemmican out of lard or coconut oil, and it is still an important survival food today.
Information on nutrition
Pemmican is a dried combination of lean meat, animal fat, as well as optional ingredients. The long-lasting use of the dried mix is similar that of a high protein bar. Native Americans, for example, made pemmican to preserve food and use it as fuel for long treks. These tips will show you how to make pemmican. These are just a few of the many options for making pemmican.
The Native American tribes of North America and Canada are responsible for the history of pemmican. They invented the recipe for making pemmican hundreds years ago. It quickly became popular among European settlers and fur traders in the region. Later, Arctic explorers used pemmican to search for food. Pemmican is a staple on backpacking trips today.
FAQ
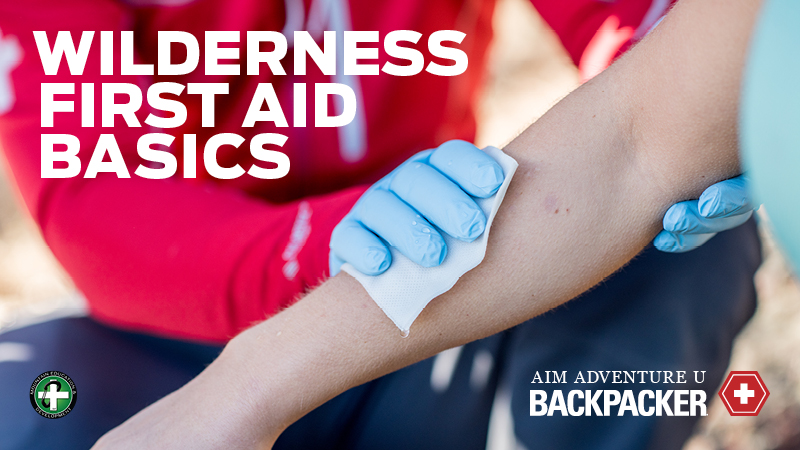
What supplies for medical use should I keep in stock?
You need to ensure you have at least three months supply of all medicines in case you find yourself in an emergency situation. This can be done by stocking up all types of medications including pain relievers and antibiotics. You might also consider storing food. If you don't have fresh food on hand, it will take you longer to prepare them.
What should I keep in my storage for supplies?
Ideal is to have three months of supplies saved away. That means having enough food, water, and other necessities to sustain yourself for three months.
However, the number of people who can help you depends on the extent of your emergency. It is possible that you don't have any neighbors in an area where you can get help. Or maybe there's no power grid available.
You should prepare for a long-term situation in that instance.
How can I begin survival preparation?
Start with an essential kit. A basic kit for food, water, shelter, and medical supplies. Next, add items that can help you remain safe and secure.
You may also want to add a solar-powered flashlight, radio, compass or whistle as well as a map, compass, whistle, whistle, and compass. Fishing equipment is a good option if you live near streams, rivers, and lakes.
A bug-out kit (BOO) can be a great way of preparing for an emergency. A backpack containing essential gear. Some BOOs include a tent, sleeping bags and firestarter. They also contain pots, stoves, cookware, batteries, flashlights, first-aid kits, toiletries, and other essential gear.
There are many options to prepare for disasters. These are the basics. Expand your list according to your situation.
Where are the majority of doomsday planners?
Most people who are preparing for an apocalypse will live in rural areas. Because of this, they are more likely than others to survive a social collapse. They also have a higher chance of finding supplies when there is less competition.
You must find shelter, food, water, and other essentials if you are to survive.
Low population density is the best place to visit. It is easier to survive if there are fewer people.
How do I prepare my house for war?
You must first make sure that all windows are tightly closed. Put everything else in storage. Also, ensure you have enough water and food storage.
An evacuation plan should be developed. Evacuate immediately if there is any possibility that your home may be attacked.
If you do not, you could be dead!
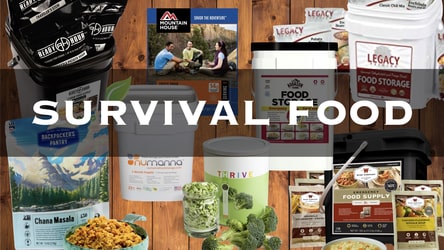
What is the best-canned food for survival?
Even though canned food can be the best for survival, it is not always the most nutritional. It could also depend on your needs. If you're looking for energy, you can go for beans. But, if protein is what you desire, you should choose meat.
High levels of vitamins, minerals and nutrition are important if you want to eat well.
Do I need to store guns?
Yes! Yes! Gun ownership is protected by the Second Amendment. It is important to keep in mind that not all people have the right to own firearms. For example, people who suffer from mental illness are prohibited from owning guns.
That being said, having a firearm in your home can save lives. According to the CDC there were 33,000 deaths from unintentional shots between 1999-2016.
The good news about concealed weapons is that most states allow citizens to have them. You still have the option to carry a concealed weapon, even though you're not allowed to possess one.
Statistics
- A survey commissioned by National Geographic found that forty percent of Americans believed that stocking up on supplies or building a bomb shelter was a wiser investment than a 401(k). (newyorker.com)
- A gravel bike was the clear winner, receiving more than 90 percent of the votes. Background: This summer, we surveyed our readers about what they’d shove into a backpack if they were caught unprepared for the collapse of society. (inverse.com)
- Approximately a hundred and seventeen million people earn, on average, the same income they did in 1980, while the typical income for the top one percent has nearly tripled. (newyorker.com)
External Links
How To
How to keep food alive in a survival situation
In a long-term emergency, drying food is the best method to preserve it. Drying food makes them last longer by removing moisture. It also reduces the possibility of bacteria growth.
Because they don't need to be prepared, dried fruits are ideal for snacking during emergencies. They're easy to carry around, and you can eat as much as you want without worrying about weight gain.
While you can dry fruit at your home using a dehydrator and a sun oven, it's much more convenient to do so in a commercial setting. To dry any type of food, you could use a sun oven, such as meats, fish, vegetables and grains.
When preserving food, it is essential to make sure that the container is airtight. This prevents oxygen entering the container and spoiling it. You don't need to use preservatives if the container is sealed tightly enough.
If you do decide to add preservatives, try adding salt first. Salt prevents mold growth. Follow this step with vinegar. Vinegar kills bacteria and inhibits mold growth.
To get started, you'll need to cut up your food into small pieces. You can use a kitchen knife or scissors. Be sure to pack everything securely so no air can get inside.
Next, place the food inside a plastic bag. Then seal the bag and place it somewhere warm to dry completely.
After the food is dried, seal it in a container. You must be careful not to allow anything to touch the food.