A snow cave is a shelter carved into snow. The snow cave is similar to an igloo and provides protection from wind and low temperatures. These shelters have many uses for animals and humans alike. These are some useful tips to help you create a snow-cave. A snow cave offers shelter for winter survival and recreational activity. This article will help you build a snow-cave and keep you warm.
Heating a snow cave using a stove or fire
It can be tempting to heat up a winter cave by setting up a stove or fire. You can avoid disaster by following these simple guidelines. Carbon monoxide is a silent killer and can be released from stoves, fires, and kerosene lamps. This gas can quickly build up and cause serious health issues, such as nausea and even death. When you build a snow-cave, it is vital to be safe from this gas.
Avoiding carbon monoxide build-up in a snow cave
To allow carbon dioxide or carbon monoxide to escape, ensure that there is a ventilation hole at least 2 inches in size. Carbon dioxide and carbon monoxide may build up and cause death if there is no ventilation. These are some safety tips for snow caves. Keep your head warm and your body hydrated.
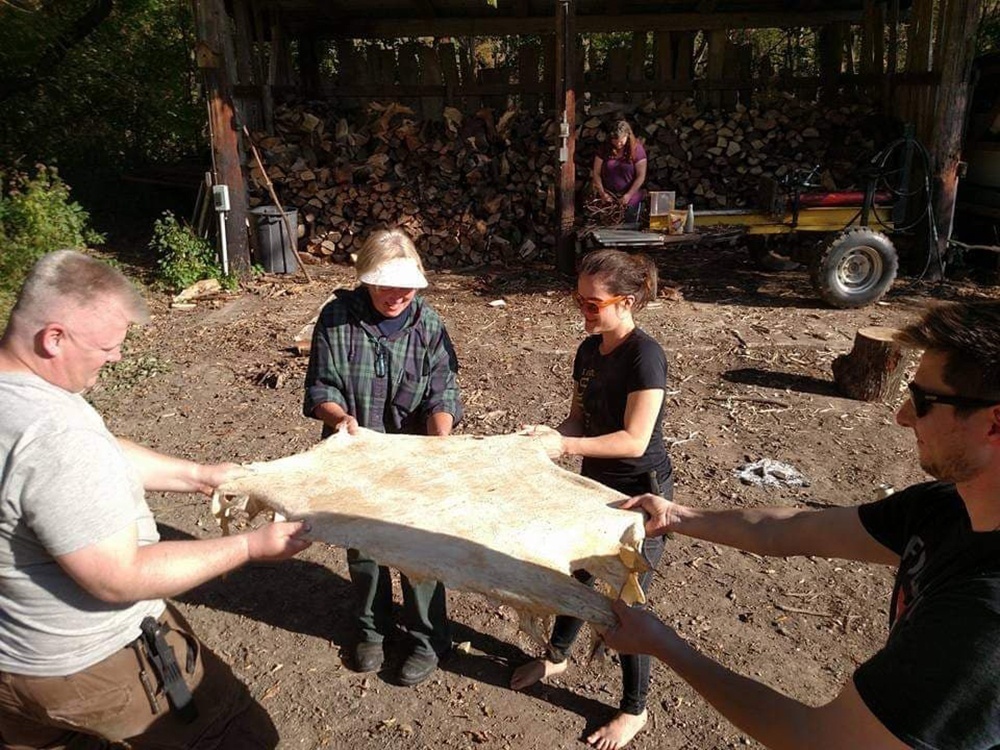
Fur armor in a snow cave
Although a fur suit looks great, it will not be enough to withstand the harsh Arctic climate. Fur gear only offers 23% resistance to cold so it will not do you much good at night when the temperature drops below zero. Protect yourself from frostbite with heat bandages, pre-made campfires, and melting ice.
Find a good spot to build a snow cavern
Perhaps you have heard of snow caverns but are not sure where to find one. You should first find a place with a moderately steep slope. This will make it easier to dig a snow cave and also allow you to exit without making a 90-degree turn. A slope with at most 20-30 degrees of slope makes it easier to construct a heat trap.

Preventing the death of a snow cave occupant
The ventilation system in a cave is crucial to preventing suffocation. The cave's walls and roof can quickly become clogged with snow and ice. This reduces its ability to ventilate. The cave's winter air can become a thick sheet of frozen air, which causes the natural reflex to breathe. This risk can be avoided by making the ventilation hole smaller than a normal nalgene. A cave's floor should have ventilation. Any snow or ice that has been blown into the pit should also be removed. The door pit should be marked, and skis or wands should be placed near the entrance.
FAQ
Are you looking for doomsday-preppers?
People who prepare for the apocalypse prefer to live in rural areas. They have a greater chance of survival in the event that society crumbles. They also have a higher chance of finding supplies when there is less competition.
Survival requires that you have access to food, water and shelter.
The best places to go are those with low population density. The fewer people around, the easier it is to survive.
What should every doomsday preparer have?
It is not only about what you have, but how much. The simple answer is that you must first learn to live off land if your goal is to survive.
You'll be surprised at how many options there are to prepare for an emergency. This list doesn't mean you have to buy everything. However, you should at least know where to start when preparing for disaster.
The most important thing is that you are ready for anything. If you are serious about surviving, you must be ready for anything.
What should you buy first when prepping
You must ensure you have enough water bottles for everyone on your trip. They are extremely important!
Make sure you have enough sunscreen lotion. It doesn't really matter if your destination is hiking or the beach, you will still need sunscreen lotion.
Don't forget extra batteries for your electronics. Last but not less, don't forget a few pairs sunglasses. You will not know how bright it is until you actually get there.
Where can I store my survival gear
It's best to keep your survival gear close at hand, so it's easily accessible in case of an emergency. A closet or under your beds is the best place to store supplies.
You need to label all supplies with the contents, date, and how they were used so you can easily identify which ones are good and which are not.
Keep a copy of the inventory in another place. If something happens to your house or apartment, you'll need proof that you had the right stuff.
How long should the supplies in a survival bag last?
It is best to have sufficient supplies on hand in case of an emergency. When disaster strikes, you don't want your supplies to run out.
For example, if you plan to go camping, you will need to bring everything that you may need in one bag. You will need to have water, food, first aid supplies, fire starters and matches, as well as tools in case of an emergency.
Additionally, you should have a flashlight and map, compass, whistle, as well as other useful items. These items will help you stay safe and find your way home if you end up lost.
These supplies can be kept in a waterproof bag, box, or bucket. When hiking, make sure that they are easily accessible and don't get lost in your backpack.
Consider what you will use the most and how much space each item takes up when packing your supplies. If you have room left over, consider adding extra items. You could, for example, add a stove to your shopping list if you intend on cooking outdoors a lot.
Make sure you know exactly where you put your supplies because if you lose track of them, you'll be very limited in what you can do once you reach civilization again.
What should I keep in my storage for supplies?
You should aim to have three months worth of supplies in your home. That would include enough food, water, as well as other necessities, to sustain you for three consecutive months.
However, the number of people who can help you depends on the extent of your emergency. There may not be anyone nearby to help you if your location is remote. Maybe there's no electricity grid.
In such cases, it is a good idea to prepare for a more long-term situation.
Statistics
- A survey commissioned by National Geographic found that forty percent of Americans believed that stocking up on supplies or building a bomb shelter was a wiser investment than a 401(k). (newyorker.com)
- In the first ten months of 2016, foreigners bought nearly fourteen hundred square miles of land in New Zealand, more than quadruple what they bought in the same period the previous year, according to the government. (newyorker.com)
- Approximately a hundred and seventeen million people earn, on average, the same income they did in 1980, while the typical income for the top one percent has nearly tripled. (newyorker.com)
External Links
How To
How to preserve food for survival
In a long-term emergency, drying food is the best method to preserve it. Drying food preserves it from moisture, making them last longer. It also reduces bacteria growth.
Because dried fruits don't require much preparation, they are great for snacking in an emergency. They are lightweight and easy to take with you. You don't have to worry about weight gain.
It is possible to dry fruit at-home using a drying rack, but a solar oven would be more practical. A solar oven can be used to dry many foods, such as meat, fish, and vegetables.
Airtightness is the most important aspect of food preservation. This prevents oxygen entering the container and spoiling it. Preservatives are not necessary if the container is tightly sealed.
If you do decide to add preservatives, try adding salt first. Salt prevents mold growth. Next, add vinegar. Vinegar kills bad bacteria and stops mold growth.
To begin, you will need to chop up your food into small bits. You can use a kitchen knife or scissors. Make sure you pack everything well so that no air gets inside the container.
Next, place your food in a ziploc bag. Cover the bag with plastic and let it dry somewhere warm.
After the food is dried, seal it in a container. Take care not to let any food touch it.